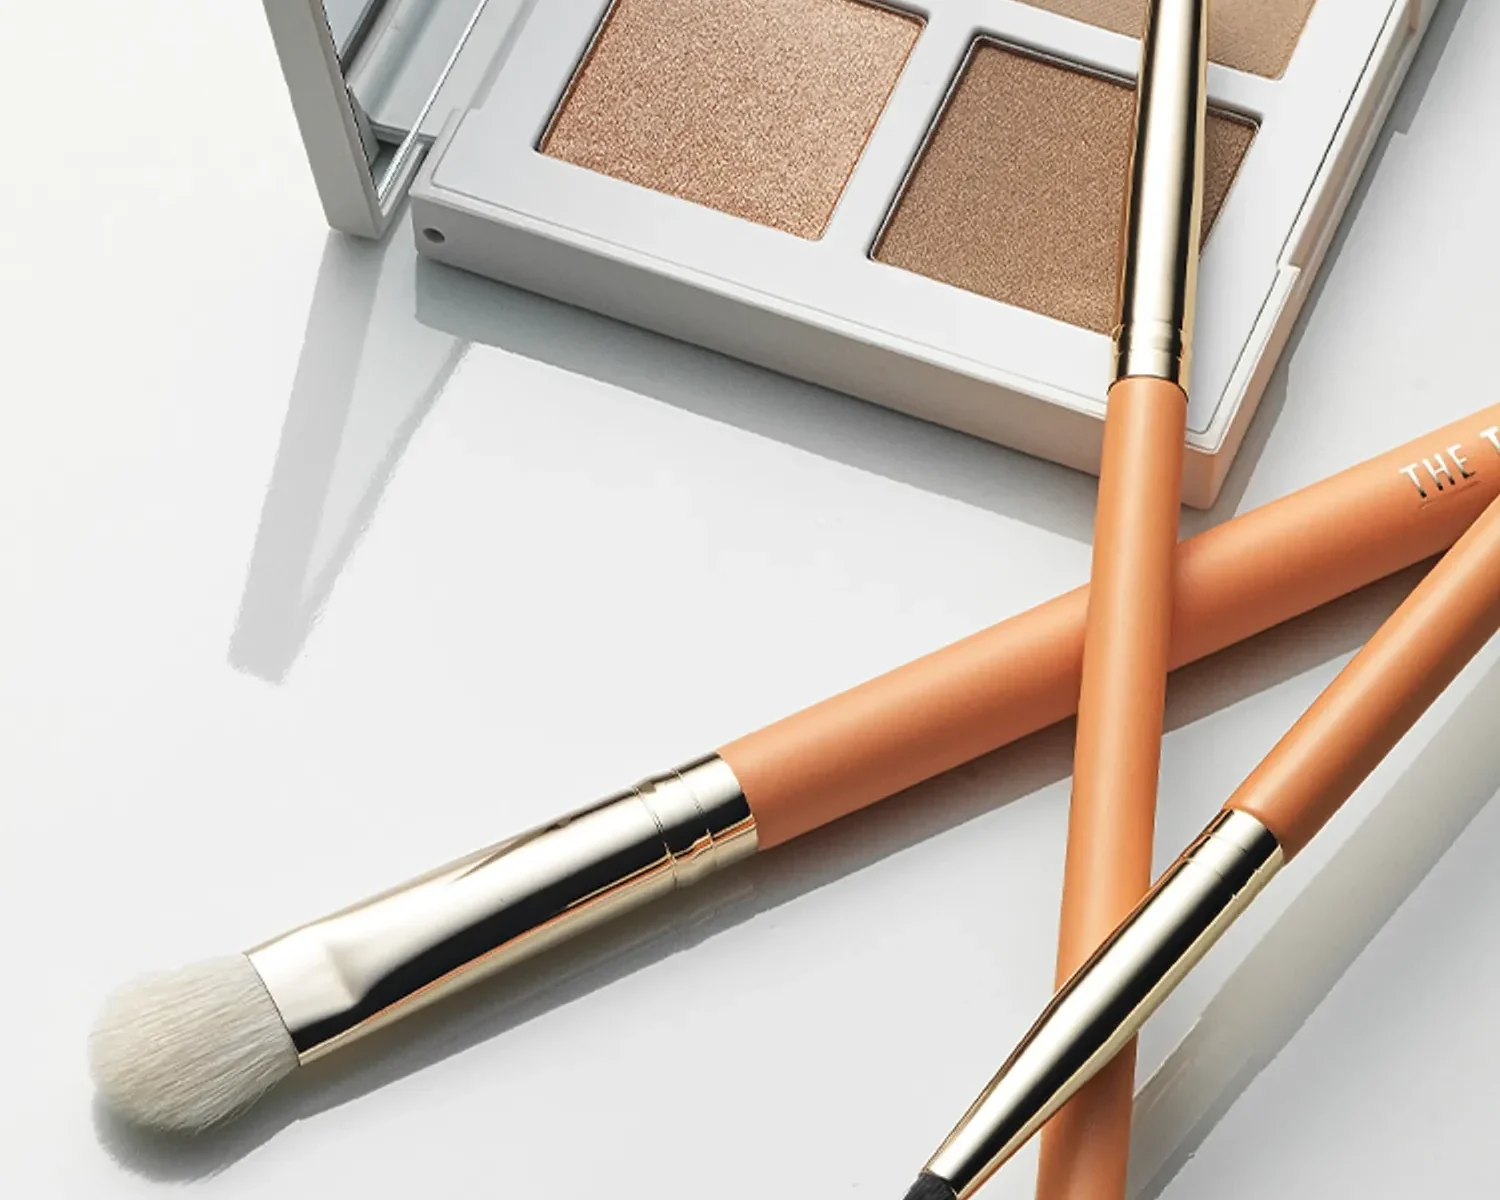
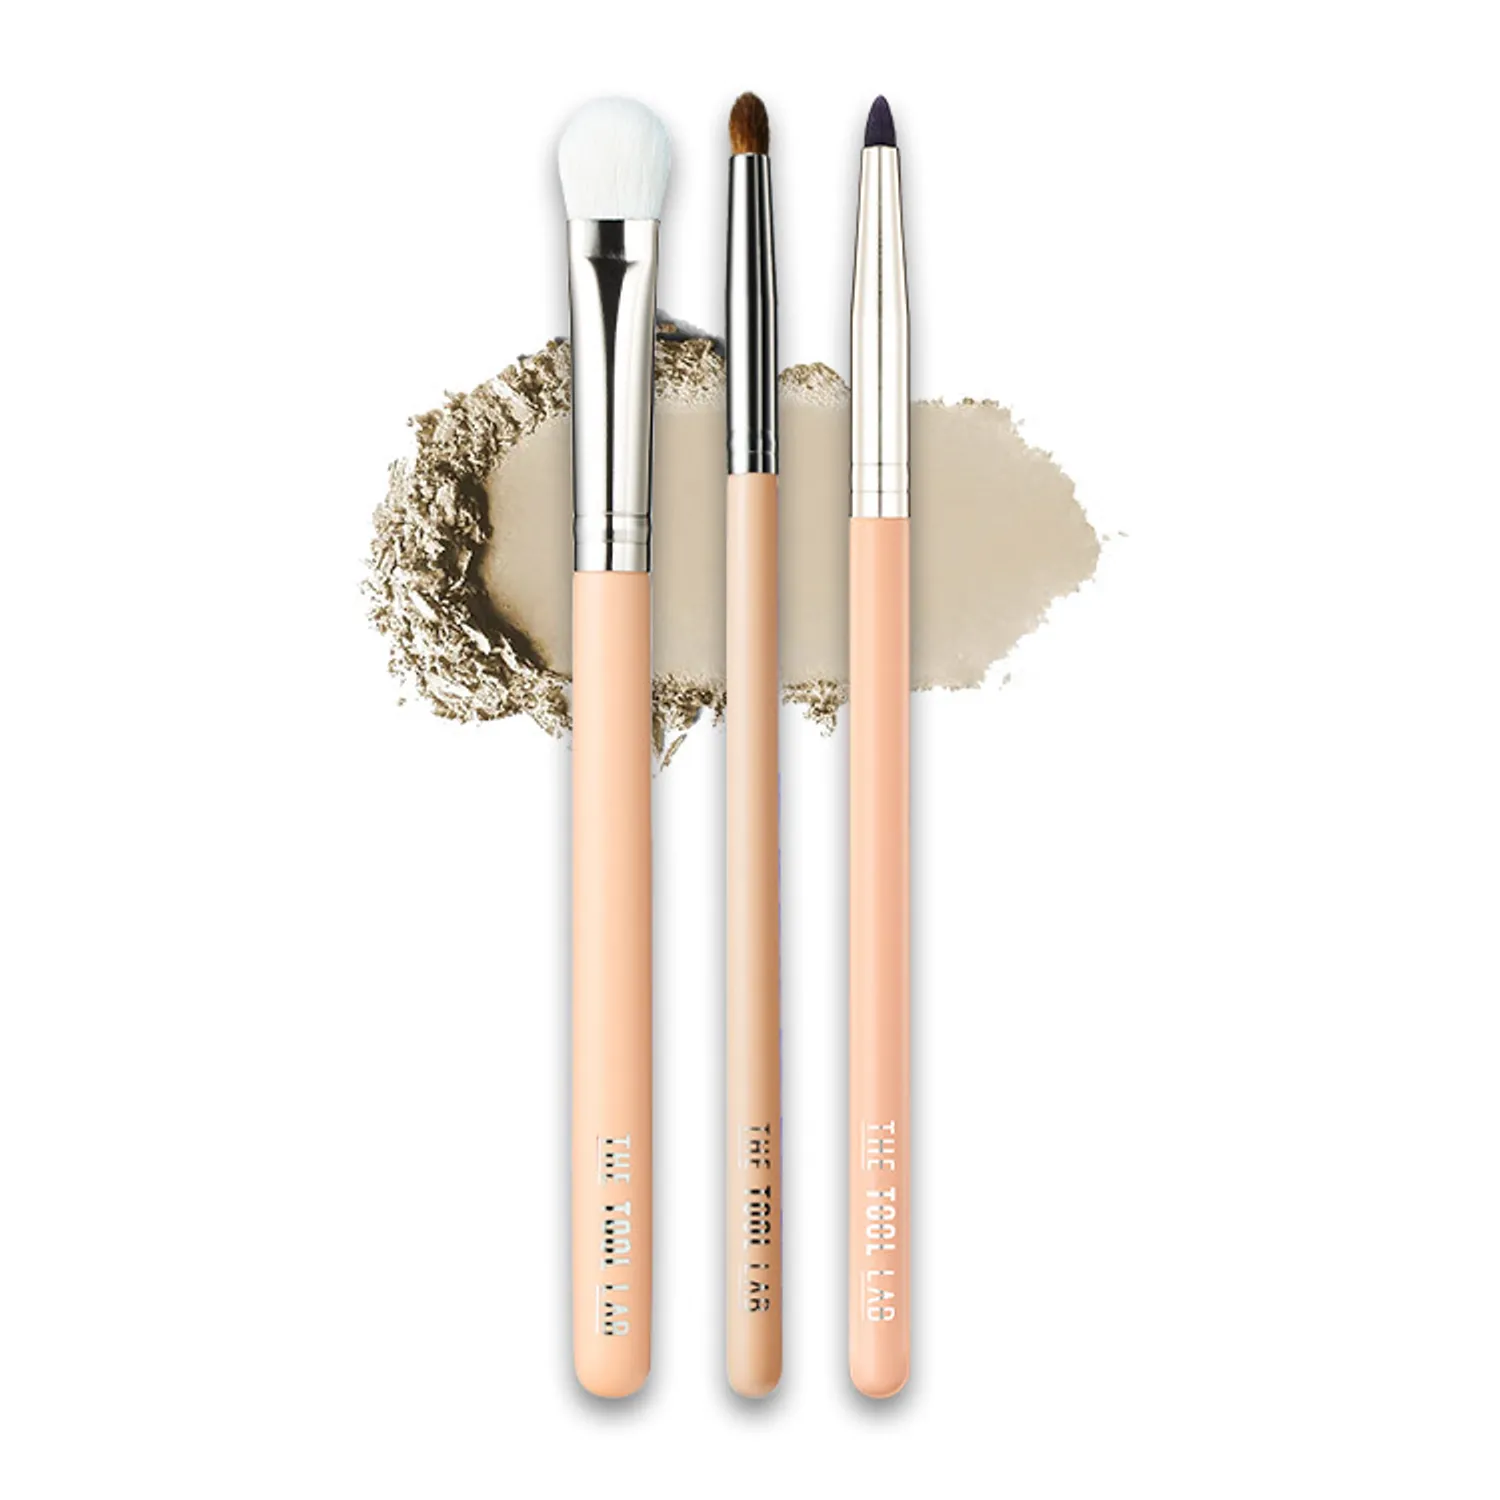
Three brushes for three different areas of colour
THE TOOL LAB Eye Shading Master Kit pairs the 202 All-Over Eyeshadow Brush – Medium, 225 Small Crease Brush and 237 Multi-Use Detail Brush. Their useful distinction is the size of the area they touch. The broad 202 distributes a base, the smaller 225 places depth, and the pointed 237 works on a narrow detail. Giving each tool a job makes it easier to understand why an eye look becomes too wide or too dark. You can change the brush or reduce the amount of colour instead of repeatedly adding shadow to the same place.
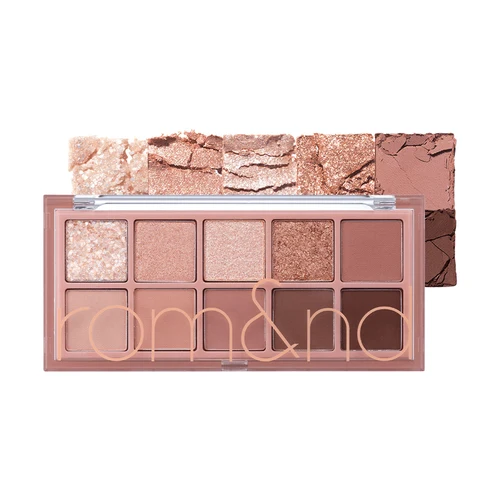
Think of the set as a compact system for powder eyeshadow, rather than a requirement to use three brushes every morning. A single wash of colour may need only 202; a soft daytime look can stop after 225. Bring in 237 when a small accent improves the balance. The set is identified by the three model numbers, and the palette and loose powder in the photographs are styling elements rather than evidence of included cosmetics.
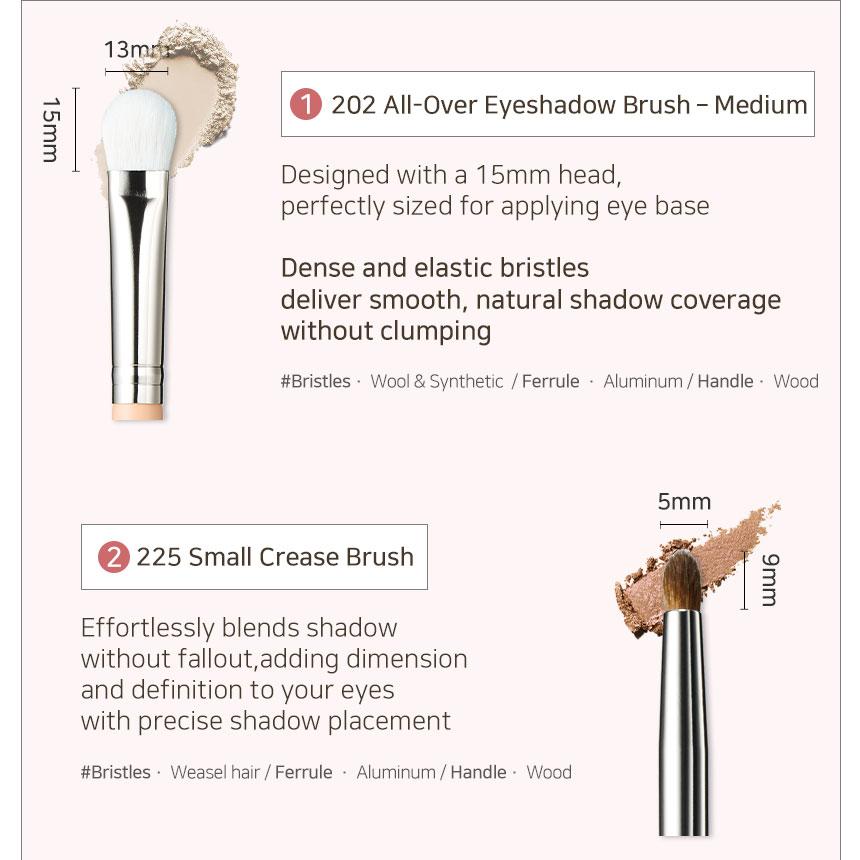
Read the head dimensions and materials separately
The illustrated measurements describe the exposed brush heads, not the total length of the tools. The 202 head is approximately 15 mm long and 13 mm wide; 225 is 9 mm by 5 mm; 237 is 5 mm by 3 mm. That progressive reduction explains why moving from 202 to 237 changes the working area considerably. Compare these dimensions with the space you actually want to colour, not the whole distance between lash line and eyebrow. A head suitable for a broad base may be too large for a narrow outer corner, even if its bristles feel flexible.
Materials also differ. The product diagram lists wool and synthetic bristles for 202, weasel hair for 225, and synthetic bristles for 237; all three have aluminium ferrules and wooden handles. The set therefore includes animal hair and is not an entirely synthetic selection. This matters when choosing by material preference and when selecting a cleanser. The narrow synthetic 237 is not simply a miniature copy of 225.
Use the broad 202 to establish a thin base
The 202 has the widest, relatively flat head with a rounded outline. Its broad face suits laying a light or middle shade across the intended lid area. Pick up a small amount on the face, remove excess, and begin where you want the colour most visible. Use short, light sweeps to spread it outward, keeping the first layer within the planned boundary. Starting conservatively leaves room to soften the edge without pushing the entire wash too close to the eyebrow. Hold the brush so that the bristles touch the skin without forcing the metal ferrule toward it.
The broad face and the narrower edge do different things. Turning the head slightly can help reach a smaller section, but it does not make 202 as precise as 237. If the colour keeps spreading beyond the area, change tools instead of squeezing the head into the space. A second thin application gives more control than pressing a fully loaded brush against the lid. Check both eyes before reloading: the second eye may need fresh product rather than whatever remains from the first. Keep one side of the head relatively clean when you plan to use it for softening a light base.
Let 225 place depth where you want it
The smaller, rounded 225 brings colour into a limited area, such as the outer part of the upper lid or a short section of the visible fold. Begin with the brush tip carrying a little of a medium-depth shade. Place it at the outer area, then move in short strokes within that patch. The aim is a gradual transition from the base, not a continuous dark band along every crease. With a 5 mm-wide head, there is less surface to cover than with 202, but pressure can still spread the bristles and make the mark wider.
Treat placement and blending as separate steps. First decide where the darker colour belongs; then soften only its outer boundary. If the entire lid turns the same brown, the movement has probably travelled farther than necessary or the brush is carrying too much pigment. Wipe away loose residual colour before the next pass, or use a clean brush for the boundary. The name Small Crease describes a useful working scale, not an instruction to follow a crease that is absent, partly hidden or differently shaped on your own eyelid. Your open-eye view is the better guide.
Reserve 237 for a small, deliberate accent
The 237 has a short, pointed synthetic head, illustrated as 5 mm long and 3 mm wide. Its narrow working area suits a restrained detail near the outer upper lash line, or a small shadow on the external skin below the eye. The product presentation also describes the outer lower triangular area and aegyo-sal shading. A short, faint mark often communicates more depth than a thick outline around the whole eye. Load the tip sparingly and inspect the first touch before extending it.
For an under-eye accent, look straight ahead and identify the small area you actually want to shade. Keep the stroke on external skin and away from the moist inner rim, tear duct and eye surface. A dark continuous line immediately under the entire eye can dominate a subtle look, so start with a small outer section and stop to assess. This brush is not necessary for every eye shape or every day. If precise application feels awkward, omit the lower detail and use 237 only where you can see and control the tip comfortably. Never trade control for a finer-looking line.
Prepare the mirror, skin and amount of powder
Begin with clean hands, dry brushes and a stable mirror in even light. Support the working arm if that makes the movement steadier. Apply an eye base thinly if it belongs in your routine and let it settle before adding powder; isolated wet or sticky patches can grab a concentrated deposit. Open the chosen shades and place the three brushes in working order so that you do not have to search while holding a loaded tool. Use a mirror distance that lets you see both the detail and the overall face, rather than working only inches from one eyelid.
Pick up a small amount and tap off excess gently into an appropriate clean area. Avoid blowing on the bristles. Test the intensity with a first light touch in the intended placement, then reload only if needed. Colour payoff depends on the shadow as well as the brush: a soft, strongly pigmented powder behaves differently from a firm, sheer one. Repeating an exact number of taps is less useful than observing the deposit. A clean tissue can remove loose pigment between shades, but this quick step does not replace washing when oils and product build up in the head.
Choose colours by lightness and purpose
For a straightforward practice look, choose a base close to the brightness of your skin, a slightly deeper middle shade and a small amount of a darker accent. They can belong to one colour family without being three nearly identical pans. The distinction that helps the brushes is what each colour does: the base unifies an area, the middle shade introduces depth, and the darkest shade gives a focal point. A palette’s label such as beige, taupe or brown does not guarantee the same contrast on every complexion. Judge the colour against your own lid in the light in which you will wear it.
Matte shades are often easier for seeing the shape of a shadow during practice, while shimmer introduces reflected light as well as colour. If you want shimmer, place it intentionally within an area rather than carrying it across every boundary. A light-looking pan may appear much brighter once reflective particles catch the light. You do not need a new palette to use the kit; a few suitable shades you already understand are more useful than many unfamiliar colours loaded onto all three brushes.
Build a restrained daytime look in three passes
Start with 202 and a light or middle base. Apply a thin layer over the part of the upper lid you want coloured, leaving space above for a softened edge. Open both eyes and see whether the base remains visible in a natural expression. Next, use 225 with a modestly deeper shade on the outer portion. Keep the first patch compact, then soften its boundary toward the base without spreading darkness across the whole lid. Work alternately between eyes so that the second side follows the same stage rather than trying to copy a fully finished eye at once.
Only then decide whether 237 is needed. A short accent on the external upper lash-line area can add definition without turning the look into a full liner design. Remove loose pigment and inspect at normal conversational distance. If the base, depth and accent are already distinguishable, adding another layer may only reduce the difference between them. Finish when the placement reads clearly with eyes open.
Adapt placement for monolids and partly covered lids
For a monolid or a lid whose fold is partly covered when open, closing the eye throughout application can hide how the final placement will appear. Look straight ahead with the face relaxed before deciding the upper boundary. Put a small amount of the base where it remains visible, then check again without lifting the brows. The useful area may be taller or narrower than a standard tutorial diagram. With 225, build a small zone of depth that relates to the visible lid, rather than drawing a dark line where an imagined crease would be.
A broad 202 can still be useful for a light wash, but its 13 mm width deserves comparison with the available space. If its full face covers too much, reduce contact or use a smaller brush for that stage. Avoid repeatedly raising the upper edge merely because part of the colour disappears when the eye opens; that can gradually turn a small look into a much larger one. Pause, return to the intended shape and decide whether you actually want more visible colour.
Work with folds and differences between the two eyes
On an eyelid with a visible fold, 225 can place depth near that fold without tracing it from end to end. Begin in a short outer section and judge whether additional colour toward the centre improves the transition. The crease and lash line are useful landmarks, but the darkest area does not have to occupy the same height across the whole eye. With 202, avoid repeatedly sweeping the light shade over a dark patch you have already placed; that mixes the stages and may erase the shape you intended.
The two eyelids may show different amounts of space when relaxed. Aim for a balanced impression from the front instead of measuring identical stripes while both eyes are closed. Work in small alternating additions and compare from a little farther away. If one side becomes too dark, do not immediately darken the other to match. First soften or reduce the stronger side with a clean tool and reassess. This keeps the overall look closer to its original intention. Photographs taken under a strong side light can exaggerate differences, so use reasonably even light for the final check.
Blend the boundary without moving the whole colour patch
Blending is easiest to understand as softening the edge of a placed area. It does not require scrubbing the complete lid repeatedly. After setting depth with 225, use a clean or lightly loaded head in very short movements along the boundary. Keep the centre of the darker patch relatively undisturbed so that depth remains. A large movement with 202 can be useful for a broad pale wash, but the same movement over a small dark accent will enlarge it. Match the stroke length to the part you want to change.
If a result looks muddy, consider the brush load, the number of colours and how far you have moved them. Adding a lighter shade over everything is not always the simplest fix; first stop adding pigment and remove loose colour from the tool. A harsh edge may need a clean, soft pass, while an area already spread too far may need a careful restart in that section. Keep a distinction between a brush used for loading dark colour and one kept clean for finishing, especially when moving from matte brown to a pale shimmer.
Make an evening variation by changing emphasis
An evening version can begin with the same base and outer depth rather than a completely different technique. Choose one focal change: deepen a compact outer section with 225, or add a more visible but short upper-lash accent with 237. Add a thin layer, inspect, and repeat only where it improves the shape. Keeping some of the base visible preserves contrast. Darkening the entire upper and lower area at once can overwhelm the careful differences in brush size, so decide which part should attract attention before adding product.
If a reflective centre is your preference, place the shimmer according to its own product instructions and leave the outer shading relatively calm. Do not assume every formula should be applied wet merely because a stronger effect is wanted. Check the result in lighting similar to the evening setting and from farther away than the application mirror. A deeper look may require slightly more cleaning between stages, particularly before returning to a light colour. The brushes help control placement; makeup wear, creasing and transfer also depend on the shadow, base and conditions rather than the kit alone.
Keep powder techniques separate from cream techniques
The starting routine here uses powder eyeshadow because it makes the role of each head clear. A cream or liquid formula can leave a different residue and may need its own recommended applicator. The fact that 237 has synthetic bristles does not establish compatibility with every cream, liner or adhesive. Follow the colour product’s directions and the brush’s care guidance before changing use. If you use a brush with a creamy product, do not immediately return the coated head to a dry powder pan or use it as your clean blending tool.
Likewise, adding water or setting spray changes both the deposit and the cleaning task. It is not a mandatory step for these brushes and should not be introduced simply to intensify a shadow. For ordinary powder work, keeping the head dry and adding thin layers is the more straightforward starting point. Choosing a tool by the contact area and formula helps more than assuming that a higher model number represents a more advanced or stronger effect.
Keep the work on external skin and the tools personal
The brush should touch the external area you can see and control, with the ferrule held clear of the skin. Do not push loose powder into the eye, trace the wet inner rim with these shading instructions, or move a pointed tip while distracted. Work seated or otherwise steady rather than applying detail while walking or riding in a moving vehicle. If the brush feels scratchy, stop and inspect for dried product, bent hairs or damage instead of increasing pressure. Do not continue applying colour to an area that is already irritated.
Keep eye brushes for personal use and avoid sharing a loaded tool. Start with a clean brush rather than dipping a dirty head back into the palette. If a tool falls onto an unclean surface, clean it before returning it to the eye area. Fine control comes from those conditions as much as from the narrowness of 237.
Wash gently and allow the head to dry fully
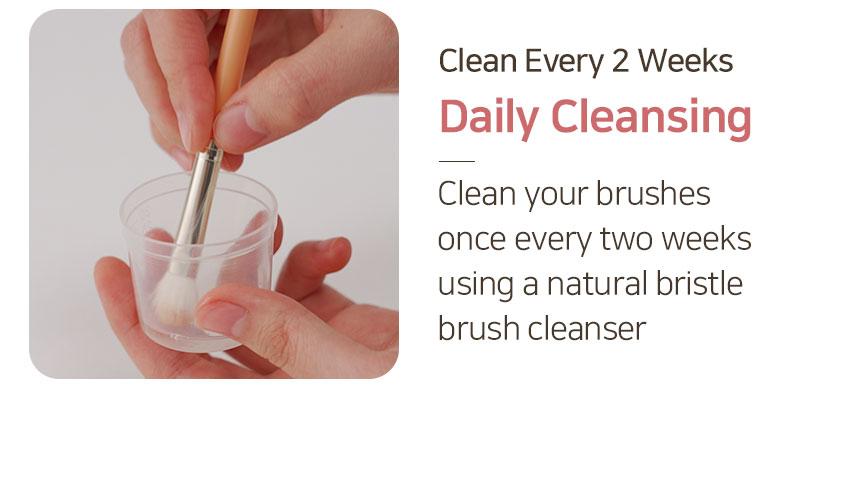
The kit’s care guidance recommends cleaning about once every two weeks with a brush cleanser suitable for natural bristles. Use that as a care reminder, not a reason to leave a visibly dirty brush unwashed. Frequency also depends on use and product buildup. Choose a cleanser compatible with the animal-hair heads, follow its dilution or application instructions, and work gently through the bristles. With a rinse-off cleanser, wet and rinse the head with lukewarm water while keeping prolonged soaking away from the ferrule and wooden handle. Avoid twisting, pulling or aggressively rubbing the tips.
Rinse as required by the cleanser, gently press out water with a clean towel, and reshape the head without compressing it into an unnatural point. Dry flat in a ventilated place with the bristles clear of the supporting surface. Do not stand a wet brush upright so water runs into the connection, use strong heat to hurry drying, or close it in a pouch while damp. Wait until the inner head is dry as well as the surface before reuse. A quick wipe between colours removes loose pigment, while washing addresses accumulated product; the two jobs are related but not interchangeable.
Store by shape and buy according to the missing job
Once completely dry, store the brushes so their heads are not crushed against a pouch seam or another tool. A clean cover or compartment can protect the tips during travel, but it should have space for the rounded 202 and the pointed 237 without bending them. Check the head shape, shedding and ferrule connection over time. There is no useful fixed replacement date for every user: a damaged, persistently scratchy or loose brush is a reason to stop using that tool and consider replacing it. A maintained set should be judged by its condition, not only by how long it has been owned.
Before purchasing through OLIVE YOUNG Global, compare the selected three-brush contents, current total and delivery conditions with the tools you already have. If you own a suitable base brush, the missing function may only be a small detail head; if all three working areas are missing, the kit provides a coordinated starting sequence. Material preference matters because 202 and 225 contain animal hair, while 237 is synthetic. Compare the head measurements with your lid space and leave room in the routine for cleaning and drying. The most useful outcome is a clear division of base, depth and detail that you can repeat comfortably, with no obligation to use every brush in every look.
Reviews 1
Detail work
Public purchase review summary
Using the brushes for different tasks, I found detailed application easy.
A little closer to Korea.
Thank you for reading.